
“Seriously, are you making more pickles!?!” That was the question asked this morning when A.D. saw the crock on the kitchen counter and the mason jars in a neat line.
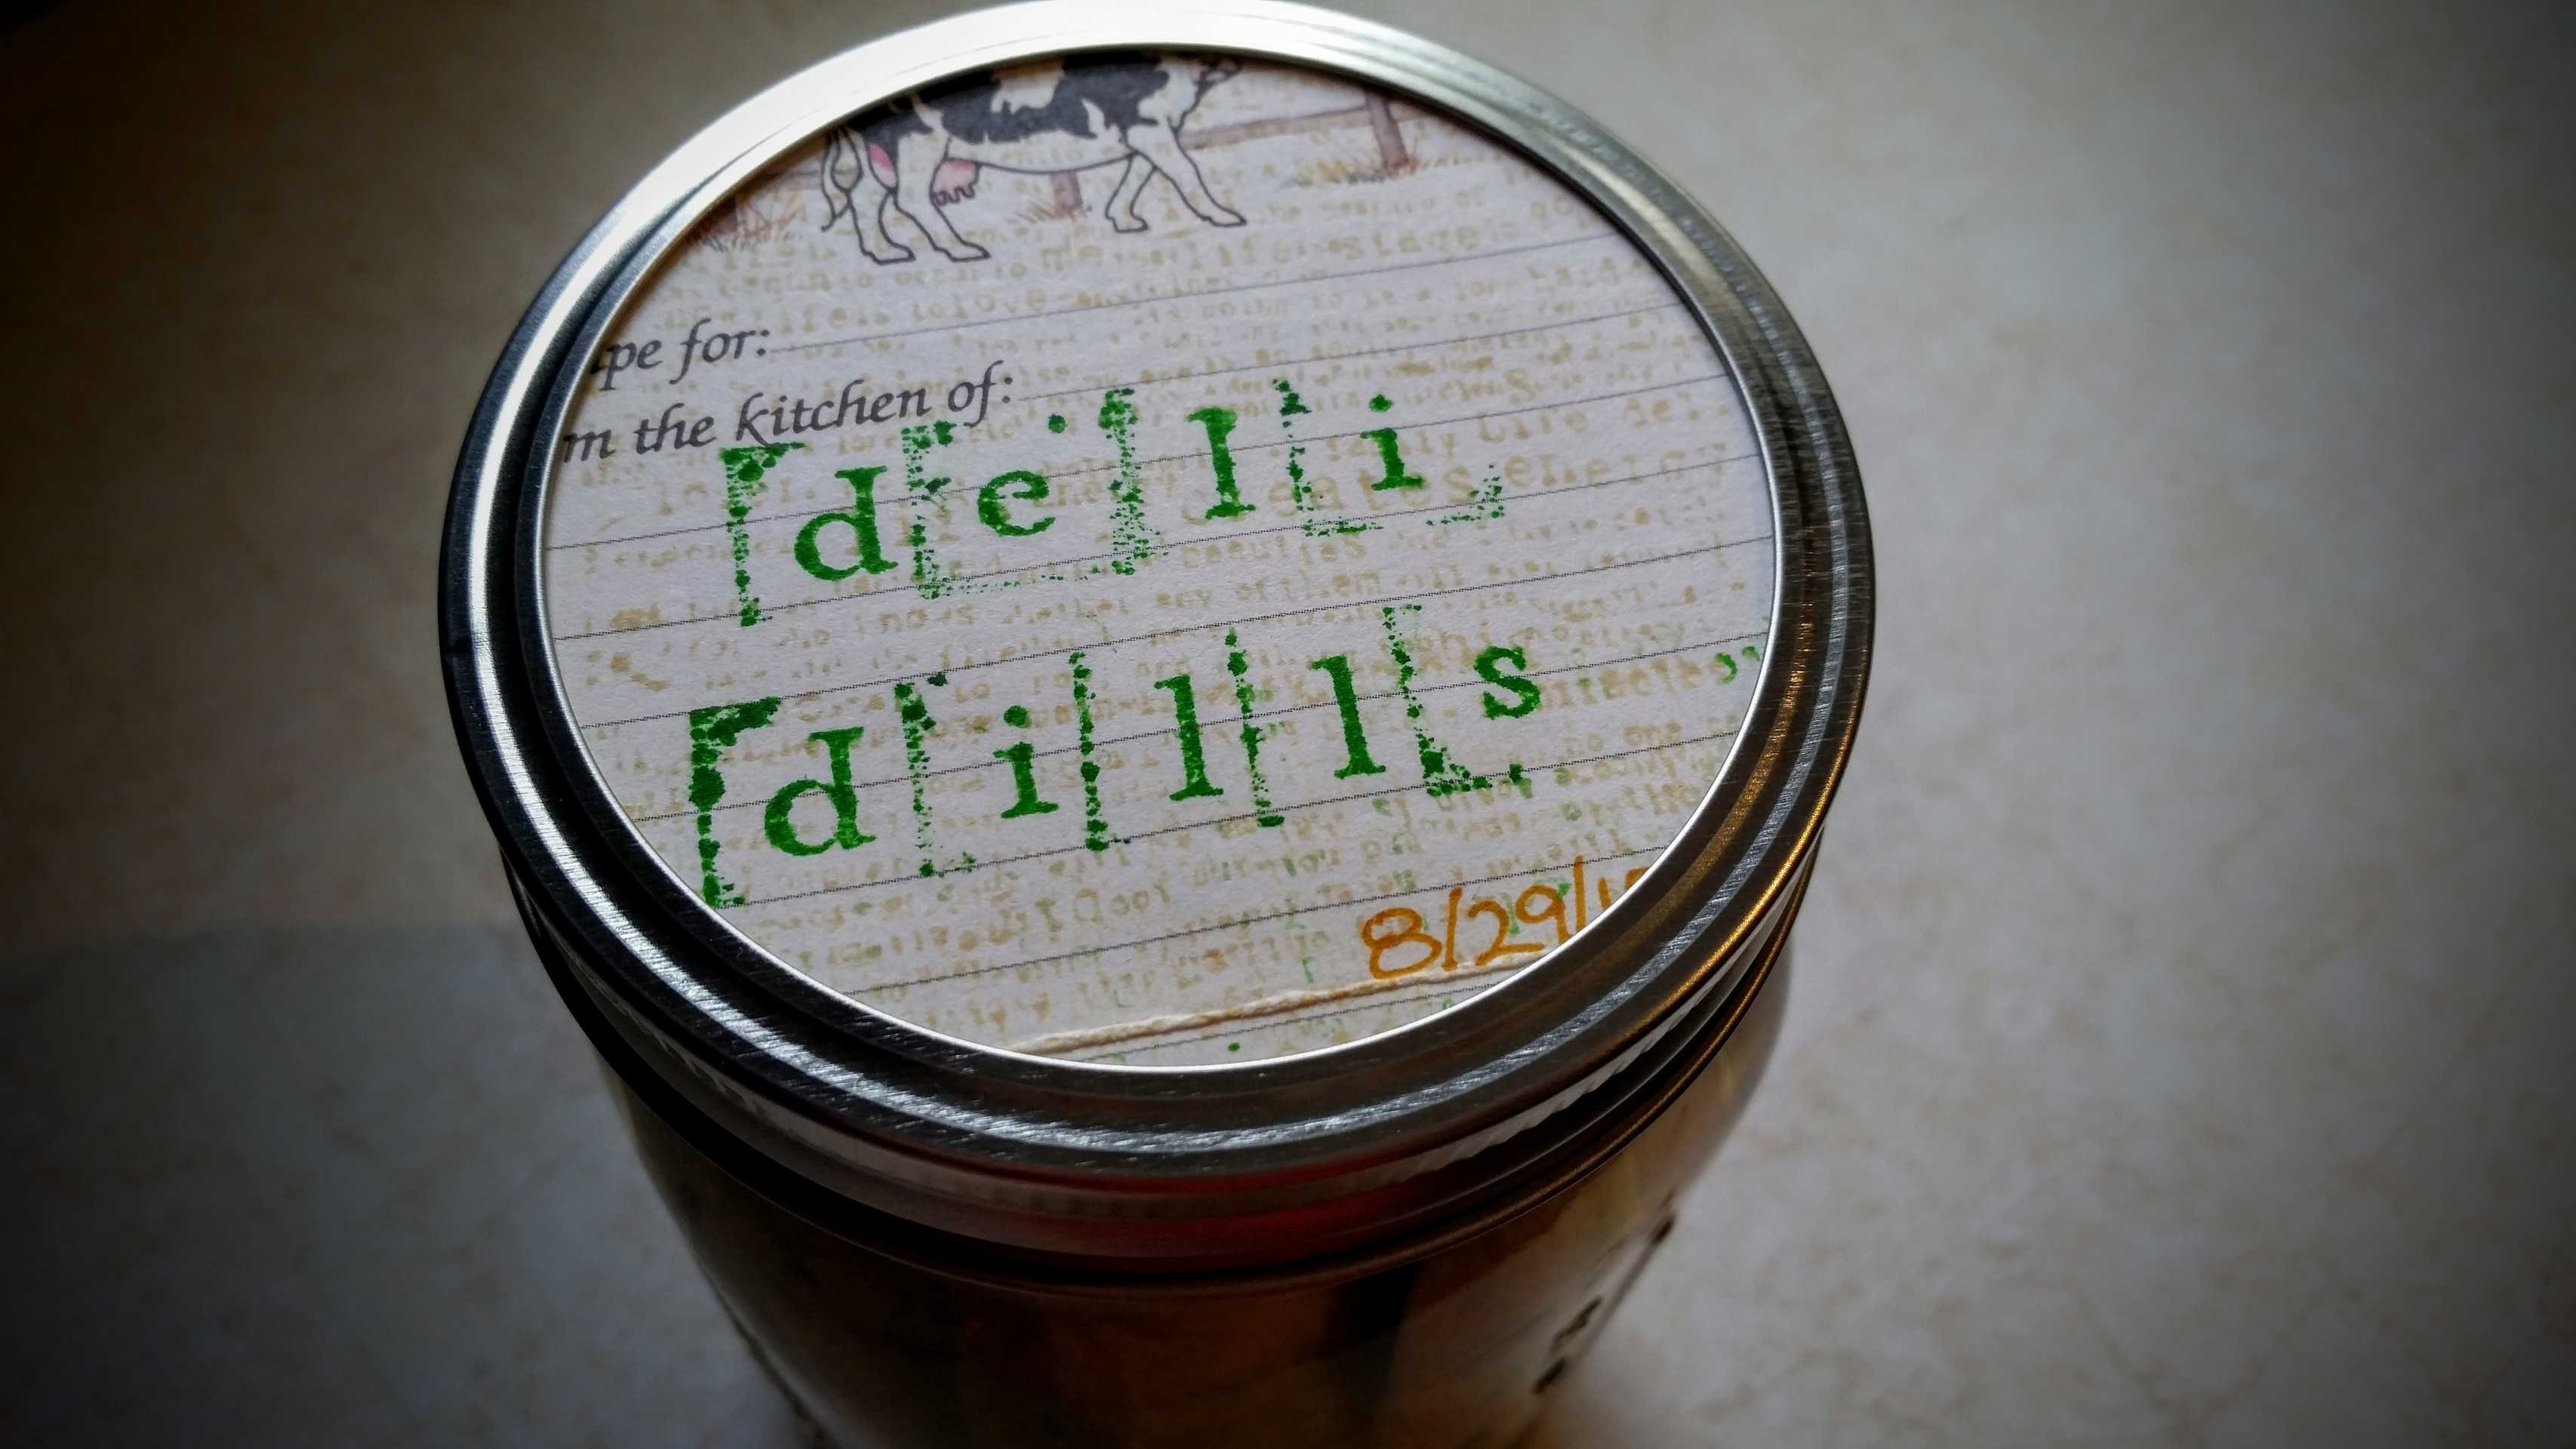
“I am not making more, just finishing what I started.” I had started the process on these Deli Dill’s about four weeks ago and had decided that they were done. I had a taste and decided I was good to go. Kind of.
Now, I will not pretend that I made this recipe up in my own noggin’, as I did receive some help from the Ball Complete Book of Home Preserving by Kingry & Devine (highly recommend!). Specifically, I about halved the Ball recipe in terms of cucumbers, salt, vinegar and water and upped the spice factor. I think.
A little bit of an addition for yesterday’s ‘good to go’: these pickles were salty as hell. I like salt. I love salt. But whoa! They were a little much. I decided to use a bit of the process from the Icicle Pickles and do a boiling soak in between the pickle and the canning, so I drained the original pickling liquid from my crock, boiled a kettle and let the pickles soak overnight. I tasted them this morning, much less salty and in much better form.
I think when I originally ‘halved’ the recipe, I didn’t halve the salt. Oops. So in my experimenting nature, and wholly off-recipe, I made a new batch of pickling liquid with kosher (not pickling) salt, water and vinegar and new spices as well. It didn’t taste as salty as the original. Yes, I kept some of the original for comparison. Looks like my attention-deficit struck again.
So here’s the recipe I meant to use at first and basically used in the end:
Deli Dill’s
- 1 c pickling spice
- 4 T dill seed (kindly stolen from my parents garden, muahaha)
- 3 – 5 whole dried chili peppers
- 2 T dried minced garlic
- 4-6 lbs of pickling cucumbers, blossom end sliced off (remember, no slippery pickles!)
- 3/4 c pickling or kosher salt
- 1 c white vinegar
- 8 c water

Ferment:
- In your non-reactive receptacle of choice (antique or new pickling crock is my
personal fave, makes me feel all old-timey), add half the pickling spice, half the dill seed, half the dried minced garlic and the dried chili peppers. Cut and add your cucumbers (I quartered mine lengthwise), ensuring that there is adequate space between the top of the cucumbers and the rim of your crock.
- In your non-reactive pan of choice (stainless steel saucepan), add the salt, water and vinegar and bring to a boil. Let cool and ladle over cucumbers to cover.
- Place your clean inverted plate over the cucumbers and weigh down as needed. Cover all parts with a clean, heavy towel to keep out the light and dust.
- Let stand in a cool place (~70 F) for several weeks until pickles are translucent and well-flavored. Remove any ‘scum’ that forms daily. You know you’re at the end when there are no more gas bubbles forming. Fermentation complete!
Canning:
- Sterilize jars and lids in boiling water.
- Drain pickles, reserve and boil brine (unless you messed up like I did!) for around 5 minutes. You want to kill off any unwanted bacteria, etc.
- While brine is coming to a boil, pack drained pickles into your sterilized jars, divvy up the remaining spices between jars (one chili pepper each!).
- Ladle hot pickling liquid into each jar, leaving about 1/2 inch head space. Wipe rim and hand-tighten ring. Can if you wish, but all three of my sweet jars sealed up on their own just fine without added fuss. If you want to comply with food safety standards, see the University of Minnesota Extension guide. They’re good and safe and a great resource!
So that’s my story. I have to say, I am not sad that this is the last batch of pickles for the season. It is a lot of work and with my current craziness at my day job, it got a little overwhelming.
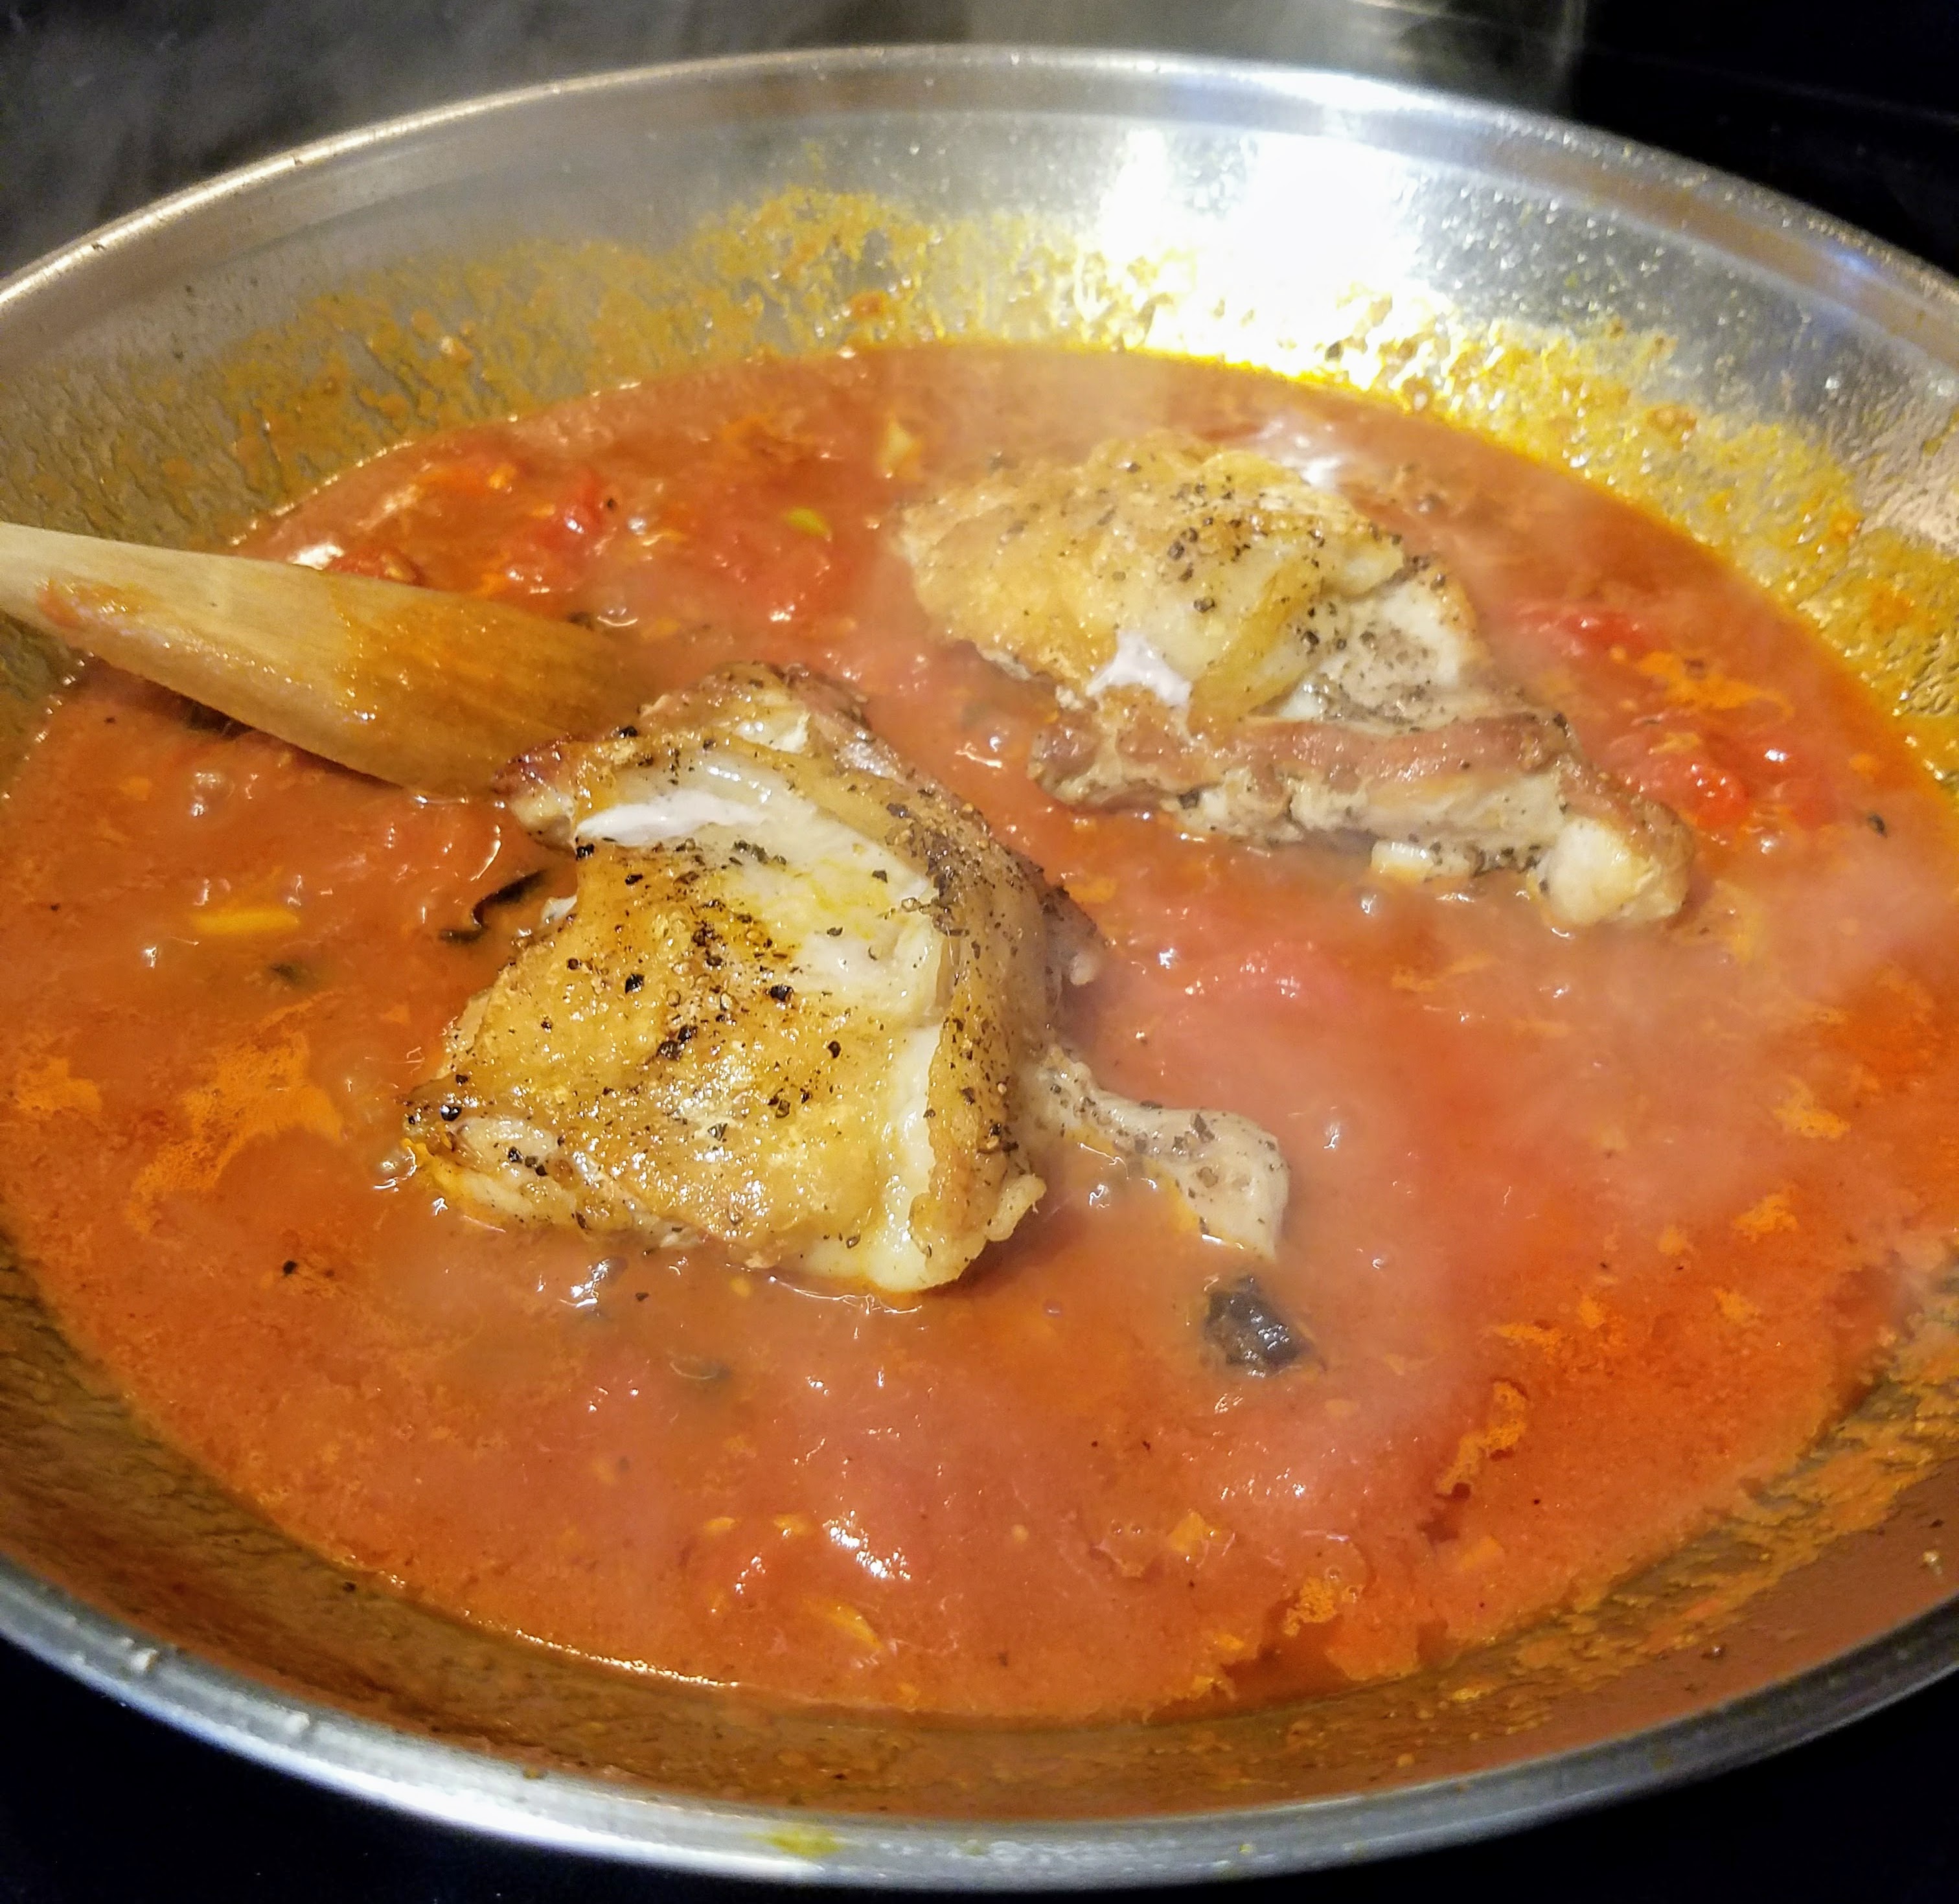
Next food project: Hot Pepper Jelly! Spicy!

[…] So, I bought them. I brought them home and put them in my art area. Then I got distracted. I finished my Deli Dill’s. […]