The time ticks down for our trip to Yosemite and San Francisco for our vacation and #TreyUSA Photowalk!
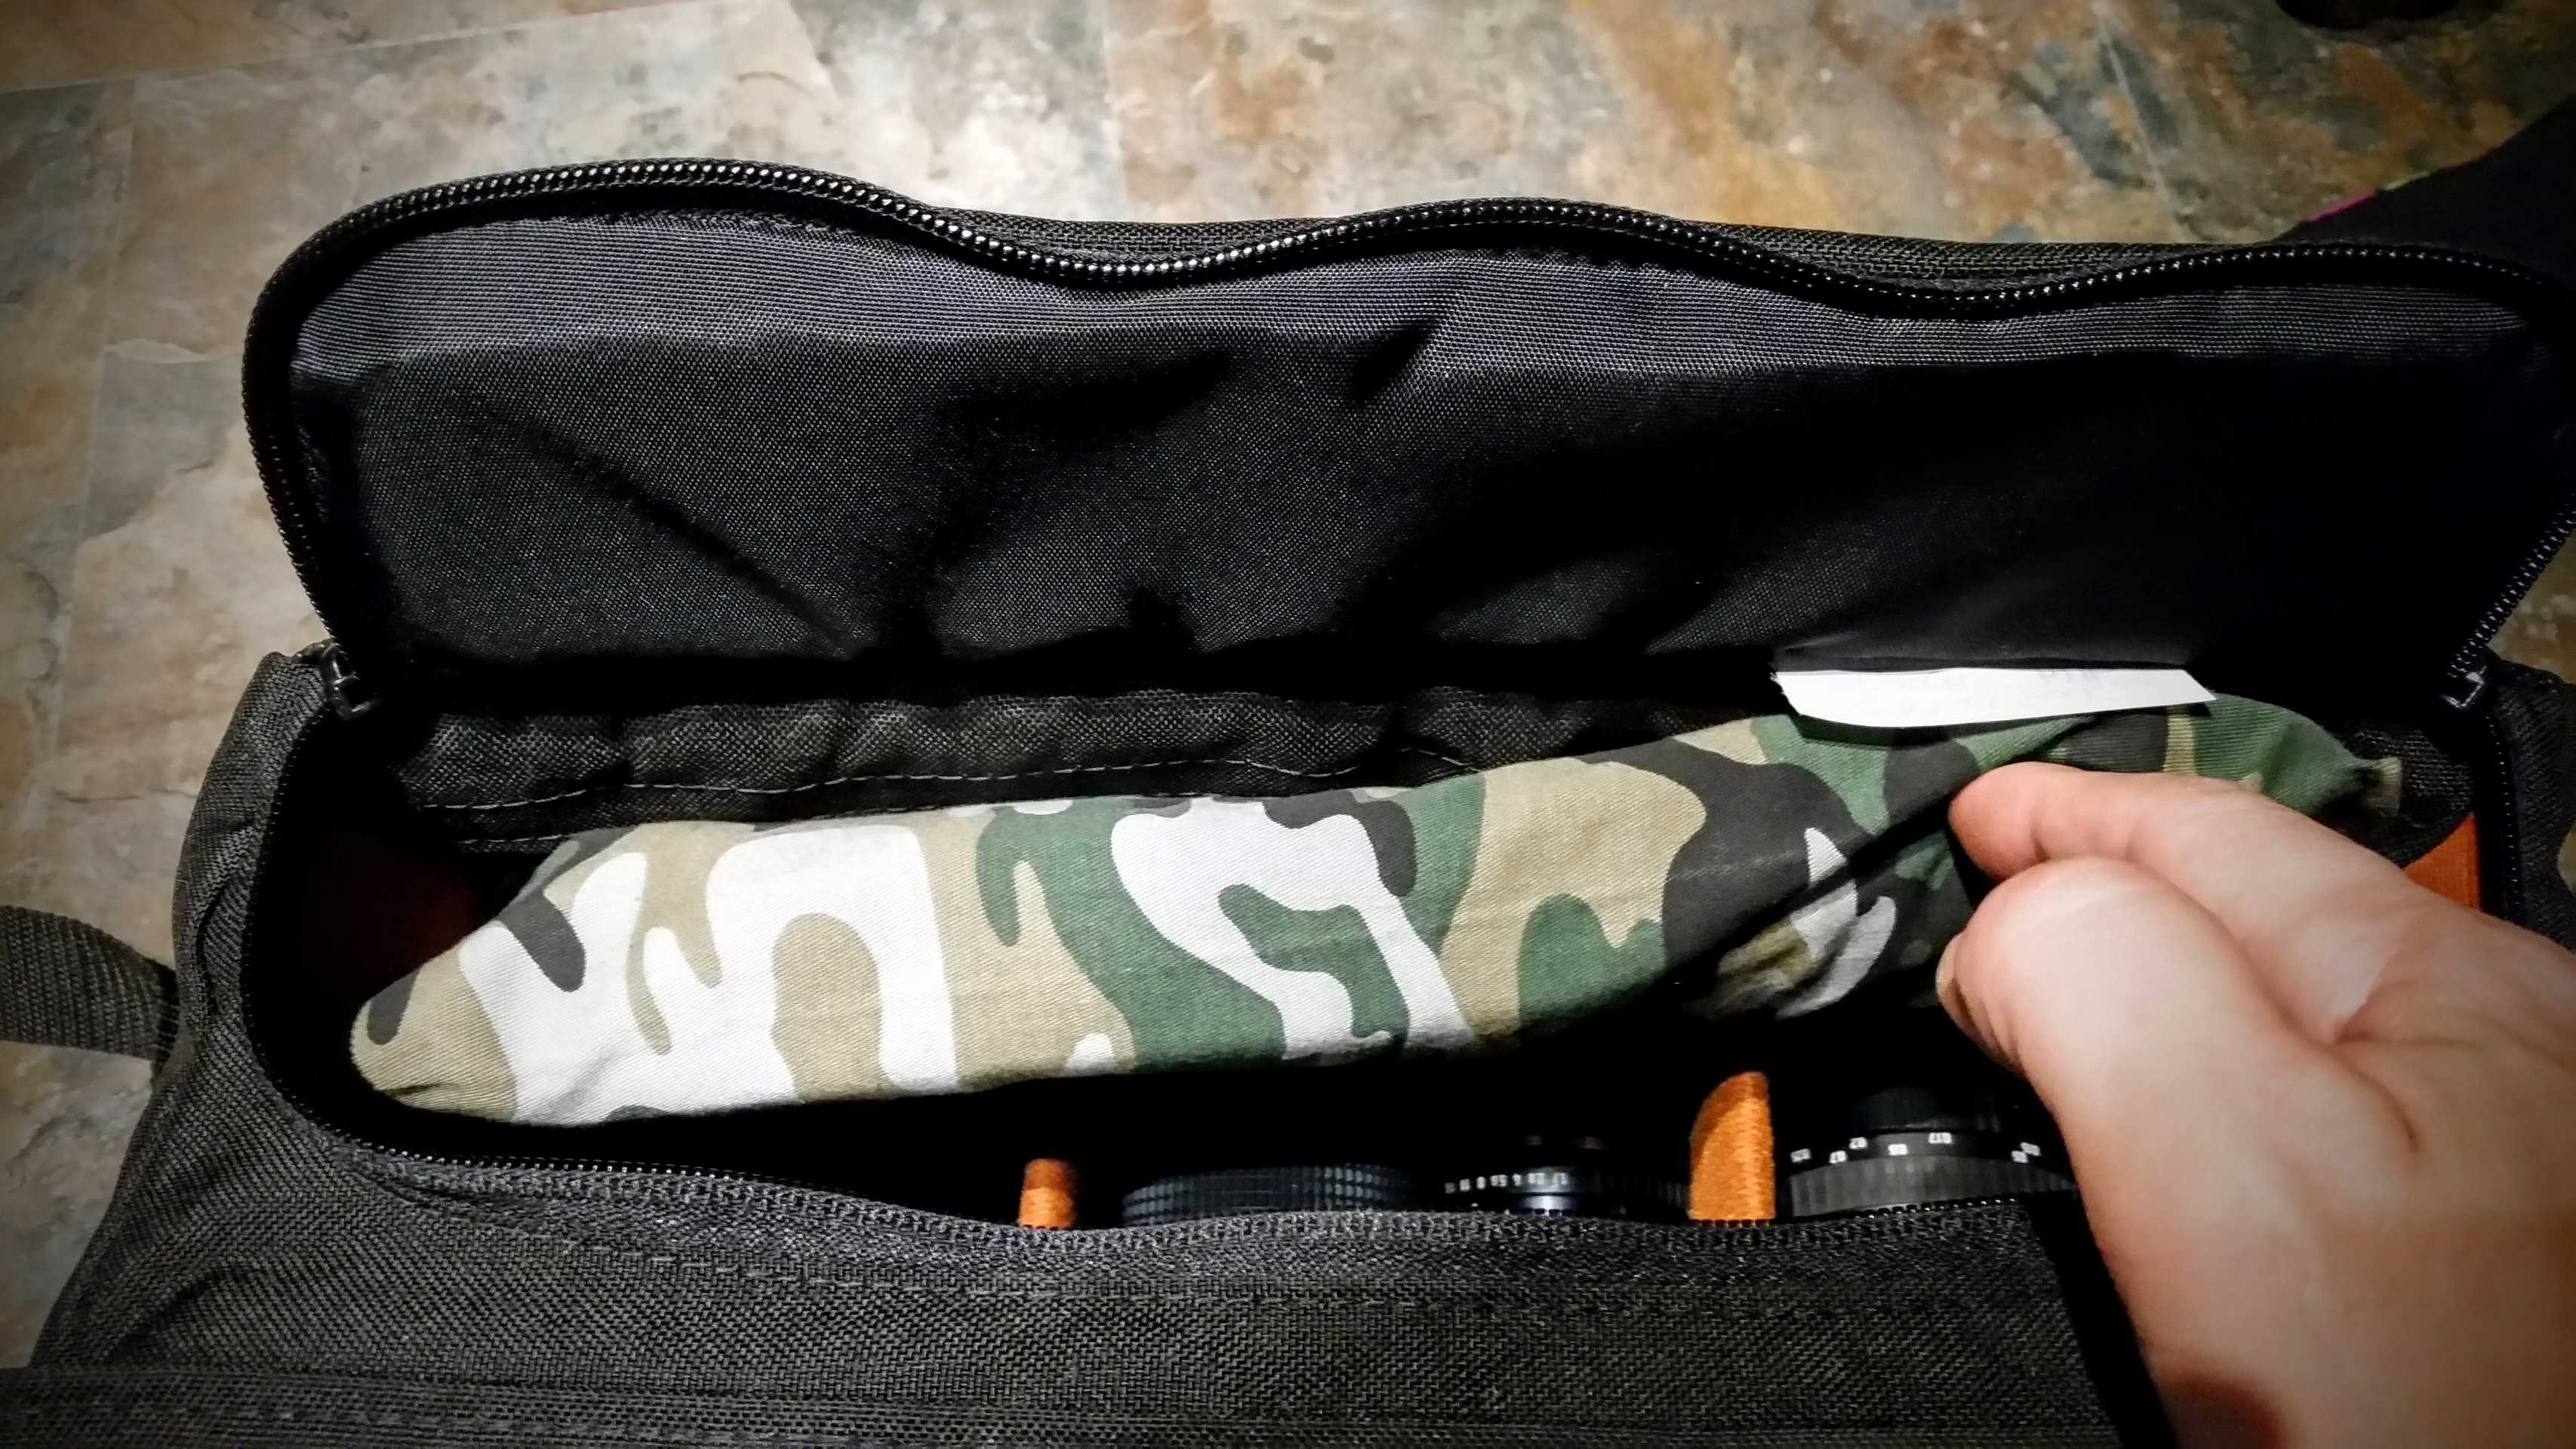
As we get ready, A.D. is looking to fit as much into his new favorite Portabrace bag as he can and ensure the safety of all his new vintage lenses. Therein lies the problem though, between my finds at yard sales and his online, he has a lot of lenses that he must bring.
In the lens area of his MS-DSLR2 was some unused space and he noted the need for a divider. Now, Portabrace sells some awesome accessories and I don’t want to take any business away, but we are pinching pennies til they squirt zinc right now and it’s just not in the budget today. After the trip, A.D. would really like to get the real deal, but until then, I made him one!
DIY Bag Divider
First, A.D. told me the needed size as 3″ x 13″ and I selected some duck cloth from my collected scraps. I love yard sales as you can find remnants for ridiculously cheap!
I folded the selected fabric in half and added 1″ to the measurement as I figured a Velcro hook strip would be useful in the end product and wanted to make sure I had room for the seams and the Velcro.
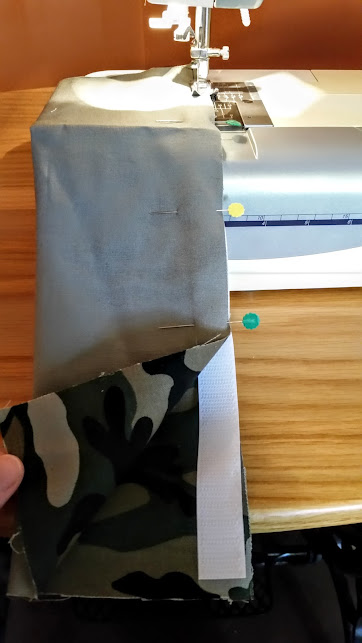
I then decided that I hadn’t added a seam allowance after all and just pinned the lot together. Did I mention that I am really not a great seamstress? I’m not. I have excessively poor spatial intelligence.
I ensured that the Velcro was about 1/2″ shorter on each end to allow for seams at the ends too.
So, I sewed a 1/8″ seam down the pinned side and on the one end. Despite my best efforts, I hadn’t cut the Velcro short enough and sewed that into the end as well. Nothing that a quick snip won’t fix, but annoying as I really did think ahead this time!
It was now time for the stuffing and I grabbed an old piece of foam from the foam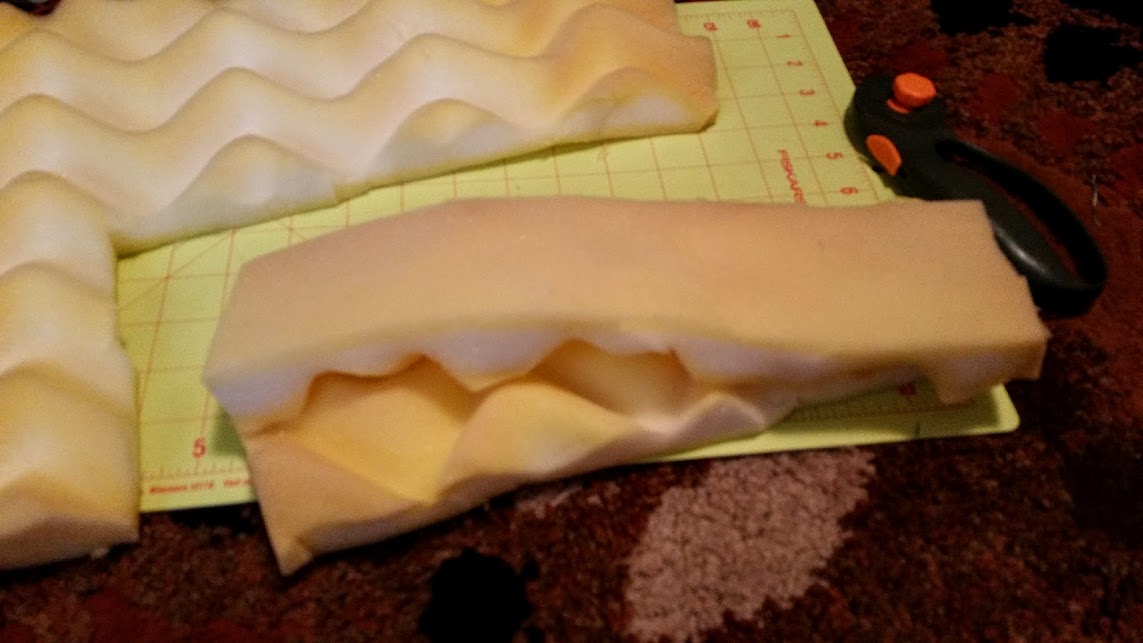
I first cut one piece and then realized that it was not enough to fill the space and provide adequate cushioning, so I then cut an additional piece of foam and wedged the two into the fabric tube. This took a minute.
Lastly, I folded the raw edges of the un-sewn end into the tube to make a sew-able 1/8″ seam on that end as well and voila! A.D. now has a bag divider!
I will not say that this is a perfect fix and it is definitely not up to the Portabrace quality standard, but it used materials that cost maybe 50 cents and took around 10 minutes of my time and will work until we can get the real deal.
I hope someone else might be able to use this as they grow their business and gear!