Hey there and welcome back to my mud art project!
In the event that I didn’t give full credit for the inspo on this series in first installment, Paul Bozzo is the artist I learned this from via YouTube. I recently purchased one of his pieces as well and it pushed me to refine my own renditions.
So today I take you through the second day of the process which will occur after your pieces have dried thoroughly. The amount of time really depends on the size of the piece and the thickness of the mud and how much water was in the mud to start.
I really like that I have to break up each part as it gives me something to look forward to and doesn’t let me rush. It is super good therapy.
Day 2: Sand and Varnish the Mud Art
The second day of work on this project is broken down into a couple of components, but only takes about 30 minutes to complete.
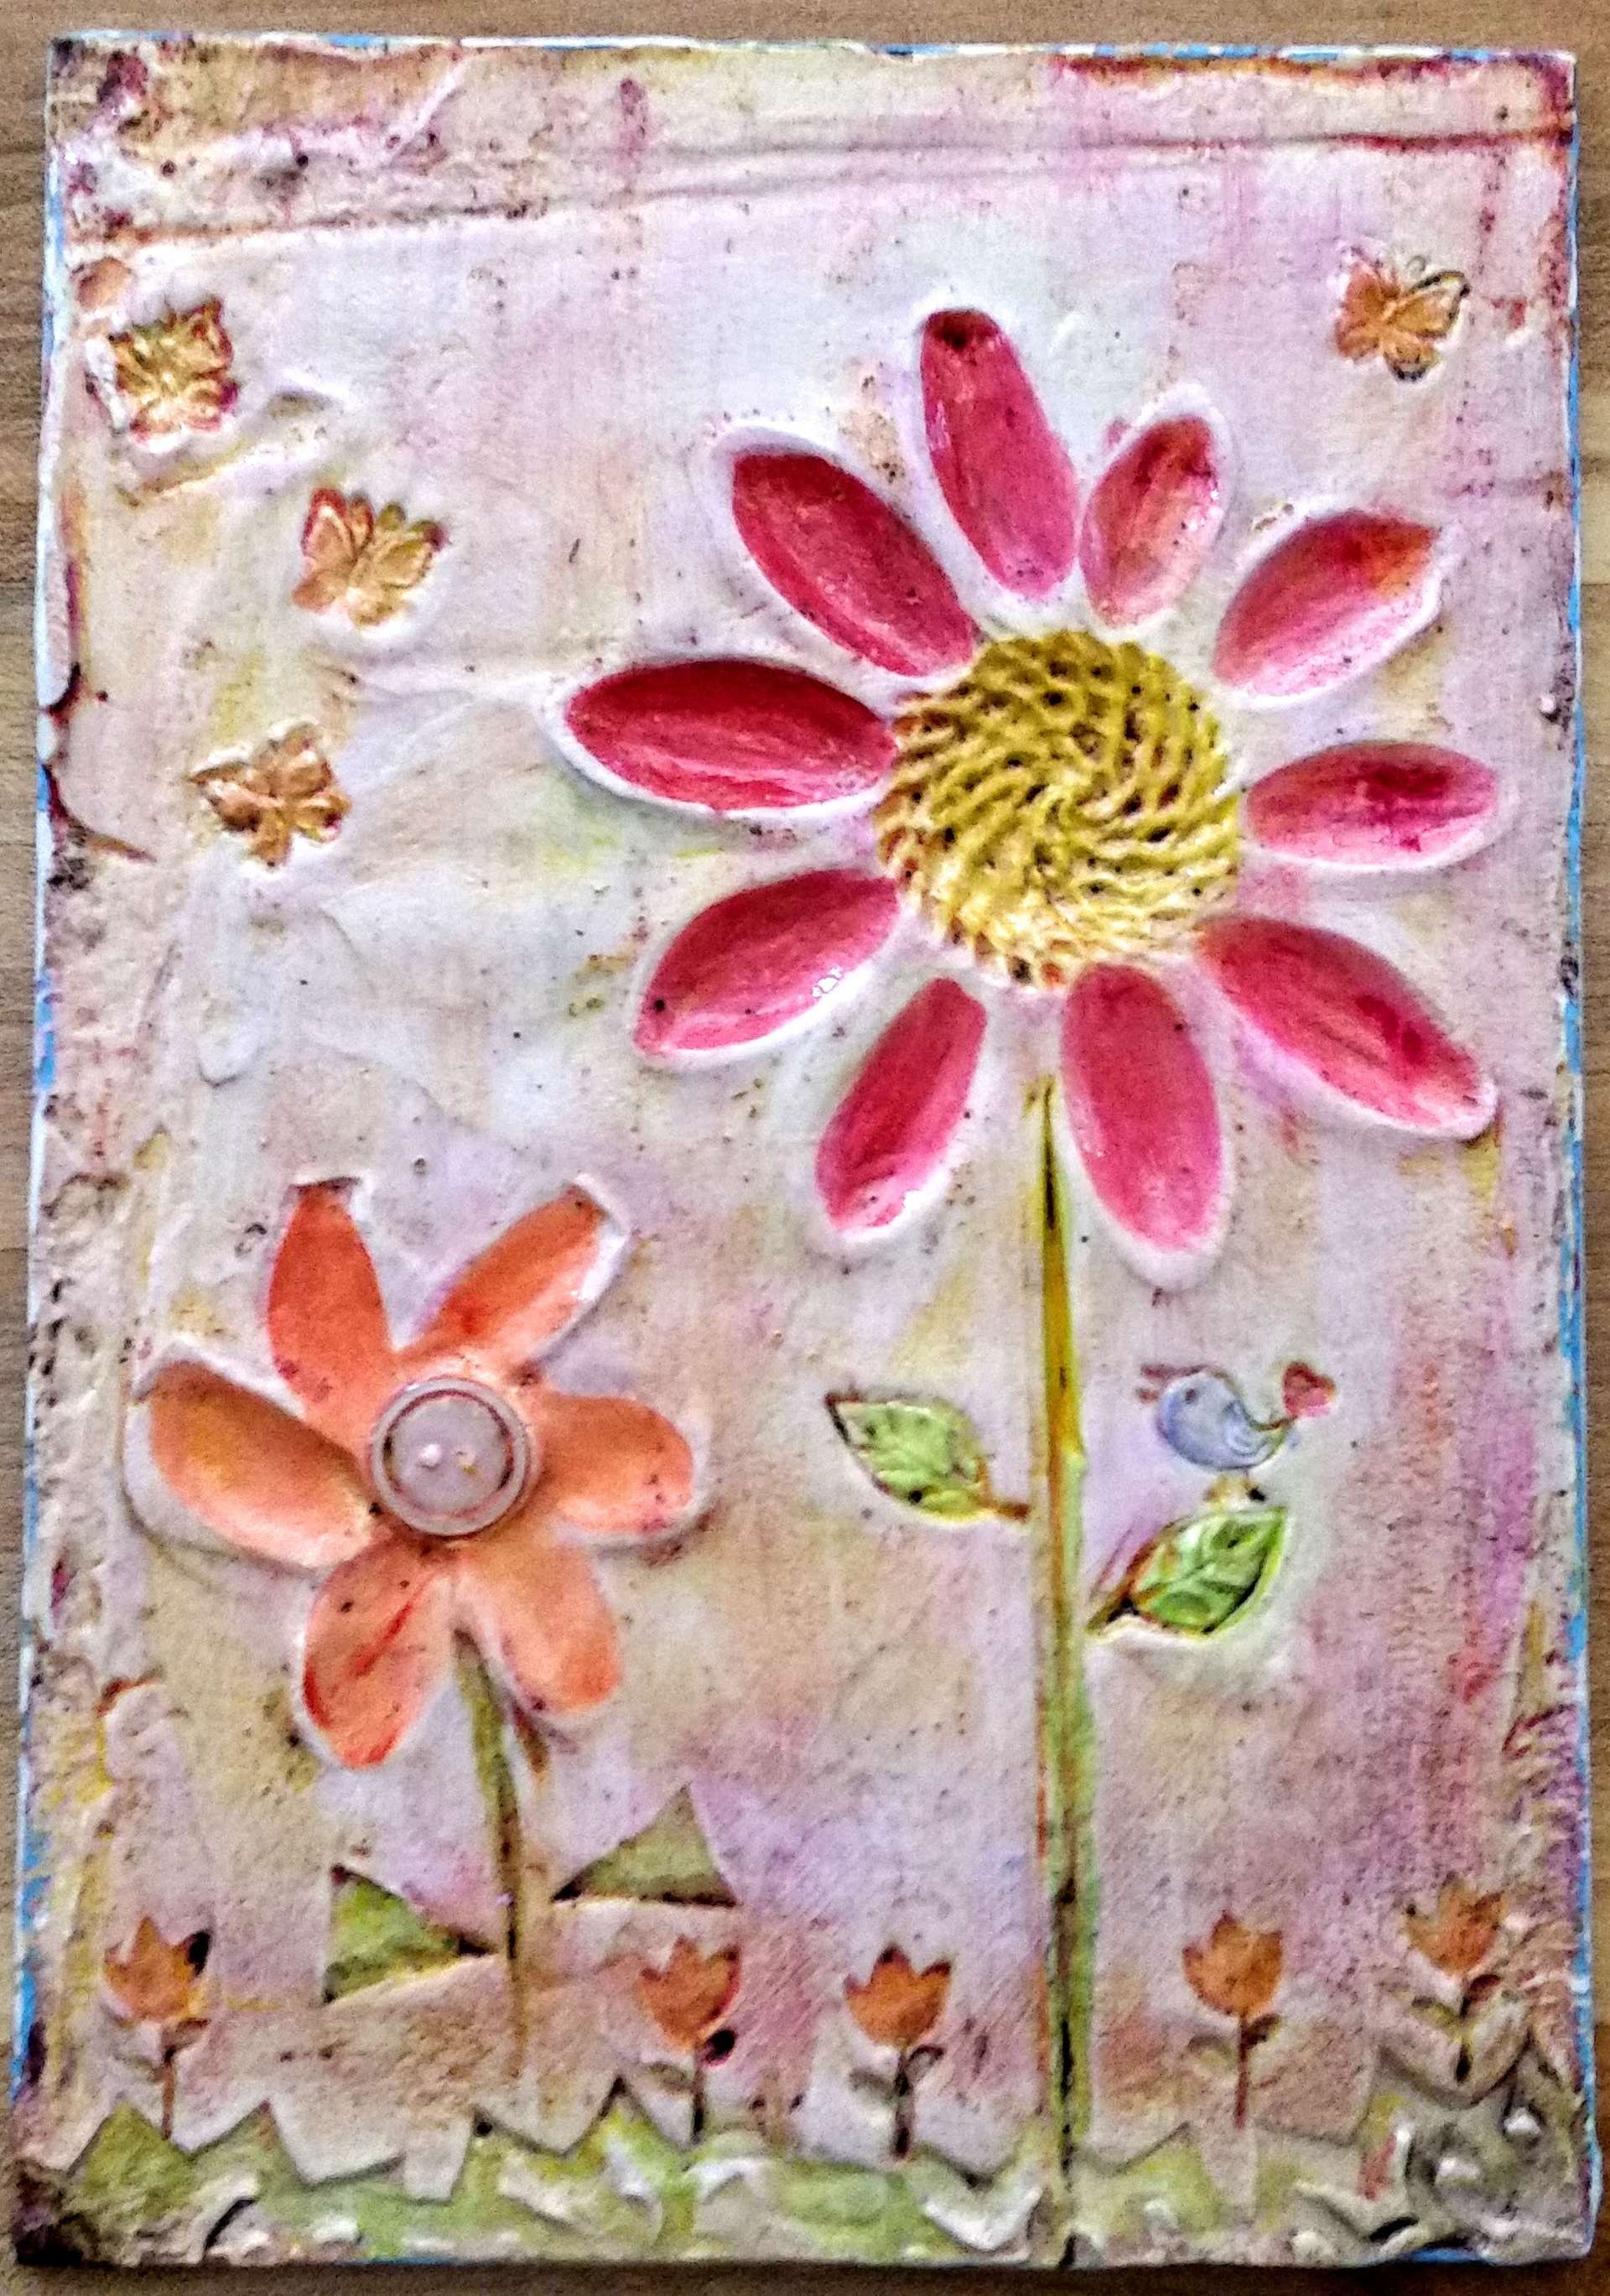
 The first thing I would like to address is cracking though. I have three pieces that I started with the other day and one of them ended up with significant cracks throughout after it dried. I think that I packed the mud thicker on this one and it dried too fast. Either way, I just grabbed some leftover CrackShot and used my finger to rub it into the cracks. I set this piece aside to dry another day before starting the next steps.
So once you have inspected your pieces to ensure that they don’t have any spectacular flaws, you can go ahead and grab your sand paper, sanding sponge, whatever you prefer to use and go to town on the mud, ensuring the edges and surface are smoothed sufficiently.
I recommend doing this outside as it is super messy and you don’t want all of the dust in your home or your lungs if you can help it.
 Once your piece is fully sanded to your liking, you can use a damp (not wet!) cloth or tack cloth to remove any excess dust.
Bring your art back inside and grab your Gloss Medium and Varnish and plop a bunch down. You can see in the picture here that I used way too much, however, I did know I was putting the varnish on another piece, so I just transferred after it was well coated. Use your brush to get into all of the nooks and crannies of your painting and don’t neglect the edges. I always put down some waxed paper or parchment paper to prevent the piece from sticking to the table. Let this first coat dry thoroughly and repeat for a second coat in a few hours.
So that’s it for the second day’s work. I hope that you have enjoyed and are looking forward to creating your own!
I always enjoy questions and comments, so please don’t be shy!
Next week we will start putting color on the piece, but go ahead and look for me on Instagram (omniasubsole) as I will be learning how to use that tool this week!